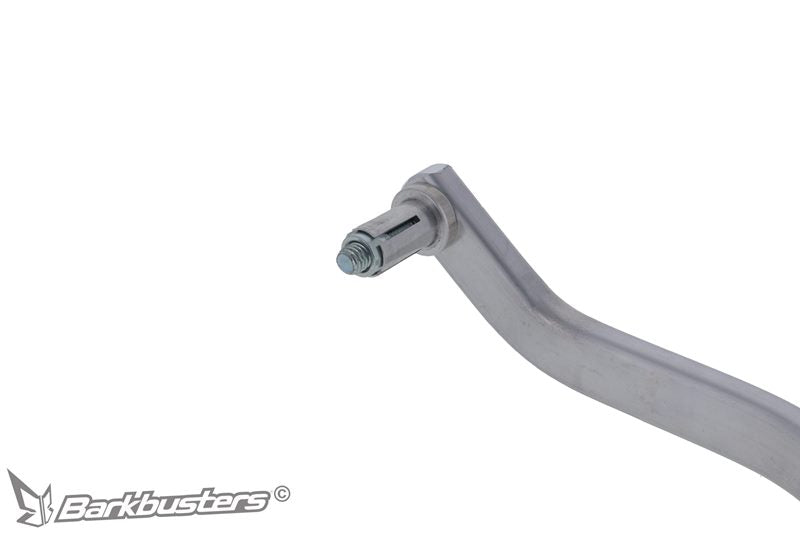
Barkbusters Hardware Kit – Two Point Mount - BHG-125-00-NP
Barkbusters Hardware Kit – Two Point Mount - BHG-125-00-NP
Barkbusters
Important Note:
SKU:

Couldn't load pickup availability
- With Bill
- Fast Shipping
- Safe Packing
Barkbusters Hardware Kit – Two Point Mount - BHG-125-00-NP
The Barkbusters Hardware Kit – Two Point Mount is an Australian-made handguard mounting solution designed specifically for the Zero FX and FXE from 2024 onwards with OEM specifications. The heat-treated aluminum backbone provides added strength and impact protection while supporting a secure and durable handguard setup.
Features
- Australian Made – “Aussie Made Aussie Tough”.
- Designed specifically for Zero FX / FXE (2024 onwards) with OEM specifications.
- Heat-treated aluminum backbone provides added strength and impact protection.
- Easy installation.
- Hardware Kit only – plastic guards are not included.
- Compatible with JET, VPS, STORM, or CARBON guards, each sold separately.
Compatibility
- Zero FX / FXE – 2024 onwards
Preparation
- Remove the original handguards, if fitted.
- Remove the original bar end weights.
- The master cylinder needs to be moved inwards to allow the lever to clear the backbone.
Fitting Procedure – Right Side
The fitting procedure is shown for the right side. Repeat the procedure for the opposite side using the applicable parts. Use spacer (11) on the right side.
- Loosely assemble clamp (2) to the handlebar as shown in the fitting diagram.
- Pre-assemble parts (7), (1), (8), (9), and (10), then present the assembly to the end of the handlebar, ensuring that the clamp aligns with the end of the backbone (1).
- Loosely tighten screws (7) and (6).
- Ensure that the assembly is positioned correctly before final tightening.
- The preferred backbone position is horizontal when viewed from the side.
- Tighten all bolts in the following order: (7), (6), then (4) and (5).
- Use the recommended torque specifications provided in the fitting instructions.
Warning
Check the operation of all handlebar controls, specifically the throttle, front brake, kill switch, and clutch, to ensure they are operating correctly according to OEM specifications. Do not ride the motorcycle if any controls are not operating correctly or if rear-view mirror vision is obscured.
Check periodically that all bolts remain properly tightened.
Caution
Installation of the handguard is safety-relevant work and can be complicated. We recommend that installation be performed by a qualified motorcycle service technician.
Rideworx accepts no liability for damages caused by improper mounting. All screws, bolts, and nuts, including all replacement hardware provided by Rideworx, should be tightened to the torque specified in the fitting instructions.
After the first 50 km of riding, check that all screws, bolts, and nuts are tightened to the correct torque. A medium-strength liquid thread-locking product is recommended on all fasteners.
Important Safety Information
A failure to follow these fitting instructions could cause serious injury, death, or property damage. These handguards are intended solely for use with motorcycles, ATVs, snowmobiles, and scooters that have not been modified. They are not designed to prevent injury or death while riding or in an accident or crash.
The user must ensure that all controls are free of the handguards every time they ride. By installing and/or using this product, you acknowledge that you accept these terms and have followed the fitting instructions.
Installation Instructions
Important Information
This product is a hardware mounting kit only. Plastic handguard guards are not included and must be purchased separately. Compatible JET, VPS, STORM, and CARBON guards are sold separately.